
Putting cows on the front page since 1885.
Putting cows on the front page since 1885.
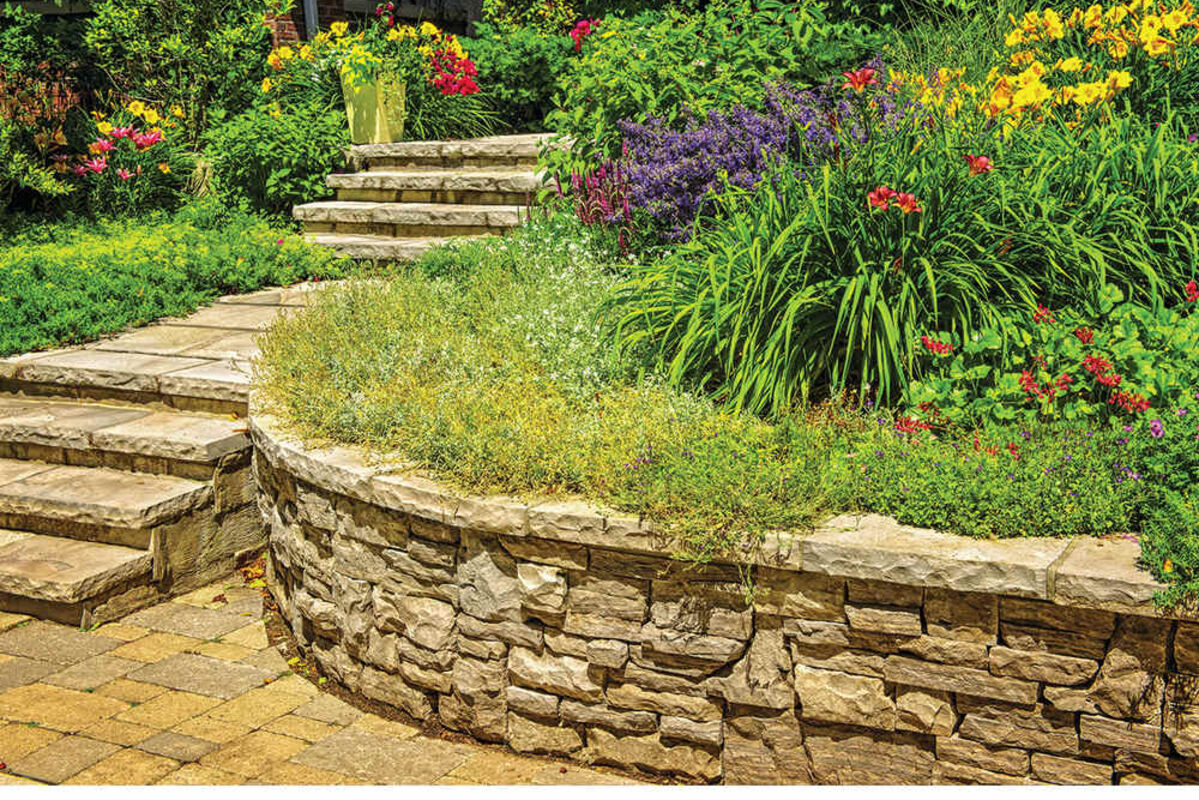
Flat, even landscapes are often coveted in backyards. However, flat backyards are not always so easy to find. Fortunately, varied terrain does not mean that certain landscaping plans are entirely off limits, especially for homeowners willing to build retaining walls.
Retaining walls help turn steep slopes in a yard into terraced focal points. They also can reduce soil erosion in hilly areas and can be used for aesthetic purposes, like raised planters, or to create more usable space within the yard. When an inground pool or pond is cut into a backyard hill, a retaining wall helps keep the remaining portion of that hill from collapsing into the cut-away area.
When contemplating retaining wall projects, a lesson in physics and engineering may be needed. A sturdy and long-lasting retaining wall needs to be built in a way that will take into consideration the force of the soil and the point at which the soil will begin to slide away, advises the experts at The Family Handyman. If these calculations seem beyond the scope of your ability, installation of a retaining wall is a job best left to a professional. If you are ready to forge ahead, these tips can get you started. However, it's important to note the potential benefits of working with others who have already built a retaining wall.
• Safety first: Call to have underground utilities plotted and marked before beginning any excavation.
• Map out your trench and begin to dig. The trench should have a level, compacted base as it will be the foundation for which the retaining wall materials, be they blocks, bricks or wood, sit in. A crushed stone base will help anchor the courses and serve to promote drainage. The Family Handyman says to bury the first course of the retaining wall one-tenth the height of the wall to prevent soil behind it from pushing the bottom out.
• Check for level. When placing blocks or timbers, make sure they are even with the first and periodically check for level as you go, advises the home improvement retailer Lowes®.
• Stagger and set back. The next row of blocks or material should be positioned so that the joints are staggered for blocks, bricks or wood. A masonry blade will be needed to cut the harder materials; a circular saw will cut timber. Also, work against gravity by setting the second course slightly back from the first to help push back against the soil that is trying so hard to push forward. Repeat the process as each level is placed. Many retaining wall products are made with a lip to create this set back.
• Go with the grade. For especially steep slopes, a gradual step-up design may be more secure and more appealing than a very tall retaining wall. Each level of a stepped design should be done like the first.
• Backfill with stone for drainage. Using a layer of stone behind the retaining wall can help successfully direct water away so it will not increase the weight of the soil behind the wall and push against the retaining wall, advises The Home Depot.
Retaining walls serve different purposes in a yard. Building such a wall requires planning and careful execution to ensure the job is done correctly.
~Metro Creative
Connection


Reader Comments(0)